What a Lunge Lesson Is and Why It Matters
If you’ve ever watched a horse circle around a pole on a long rope, you’ve seen a lunge lesson in action. It’s basically a workout for the horse that lets you focus on balance, cadence, and obedience without the rider’s weight in the saddle. For the rider, it’s a chance to see the horse’s movement up close and work on cues that are hard to feel when you’re sitting.
Most riders start with a lunge lesson because it builds a solid foundation. It helps you spot a horse that is pulling, rushing, or lagging behind. Those little adjustments you make on the line often translate to smoother rides in the arena or on the trail.
Gear You Need to Get Started
First thing’s first: you need the right equipment. A long lunge line (usually 30‑45 feet) is a must. Make sure it’s sturdy and has a sturdy snap‑hook or a quick‑release knot. A lunge whip isn’t required, but a light, flexible whip can give you clearer signals when you’re far away.
A lunge cavesson or a simple bridle works fine. If you’re using a bridle, keep the reins loose; you don’t want to restrict the horse’s head movement. Some riders add a breast collar to stop the horse from throwing its head up, but that’s optional and depends on your horse’s temperament.
Step‑by‑Step Guide to a Good Lunge Lesson
1. Set up a safe space. Choose a flat, open area free of obstacles. Mark a circle with cones or a rope so you know the exact radius you’ll be working in.
2. Attach the line. Clip the lunge line to the bridle’s headstalls or a cavesson. Keep the line taut enough to give you control but loose enough to let the horse move freely.
3. Warm‑up. Walk the horse around the circle for a few minutes. This gets the muscles loose and lets the horse settle into the rhythm.
4. Find the trot. When the horse is steady walking, ask for a trot. Keep your voice calm and use a gentle tap with the whip if needed. Encourage the horse to maintain a steady two‑beat rhythm.
5. Work the canter. Once the trot feels consistent, ask for a canter. Use a slightly longer line to give the horse room to lengthen its stride. If the horse rushes, shorten the line slightly and ask for a slower canter.
6. Change direction. Every few minutes, reverse the direction of travel. This teaches the horse to listen to both reins and prevents it from getting stuck in a pattern.
7. Cool down. End with a slow walk around the circle. Release the tension on the line and let the horse stretch a bit before you untie.
Throughout the lesson, watch the horse’s ears, eyes, and posture. Ears pinned forward usually mean the horse is paying attention. If the ears go back or the neck arches, you may be pushing too hard.
Remember, a lunge lesson isn’t about speed; it’s about consistency. Short, focused sessions (10‑15 minutes) are better than a long, chaotic ride. Keep your voice steady, your cues clear, and you’ll see improvement fast.
Now that you know the basics, grab a friend, a line, and give your horse a lunge lesson. You’ll both thank yourself when the next ride feels smoother, more balanced, and a lot more enjoyable.
3
Aug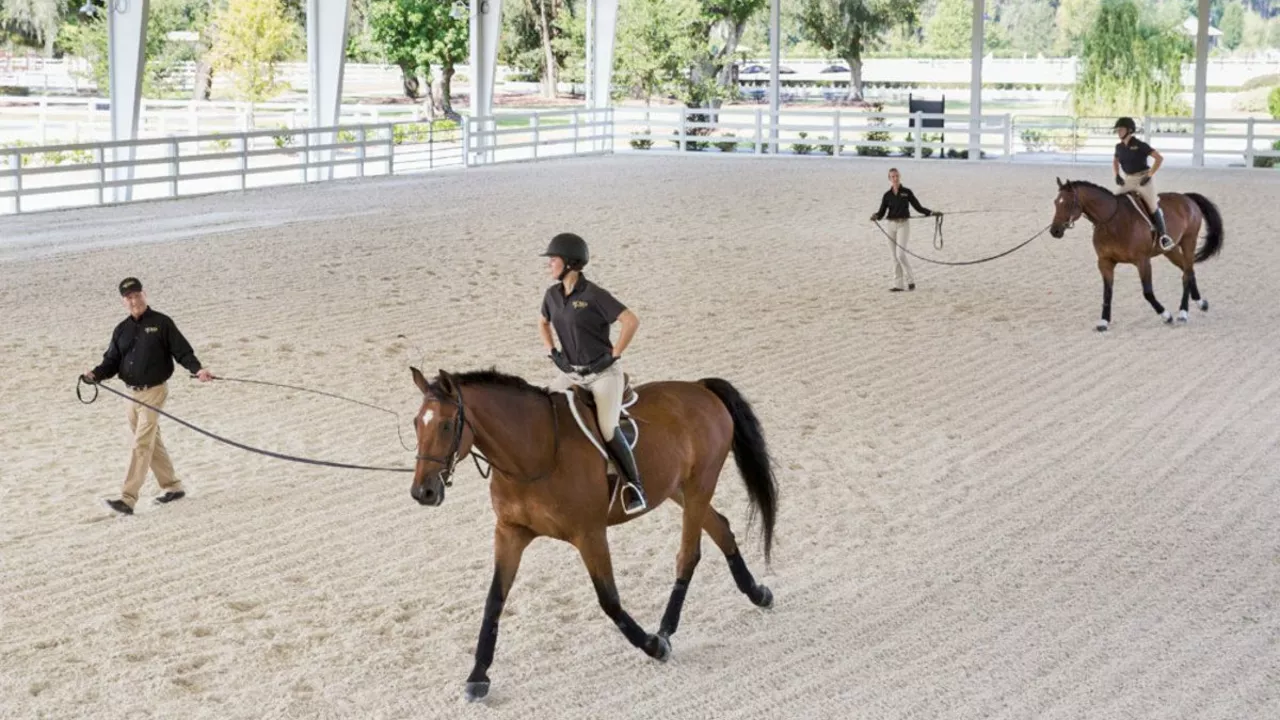
Horseback Riding: What is a lunge lesson?
Whoa, hold your horses! Today we're going to dive into the world of equestrianism and talk about lunge lessons. Now, you might be thinking, "Is that where the horse does lunges?" Oh boy, I wish! But no, it's a tad more complex. It's a fantastic way for riders to really hone their balance and coordination without the added challenge of controlling their steed. Essentially, the horse is attached to a long line and moves in a circle around the trainer while the rider works on improving their skills. So, it's like a horsey-carousel of learning. Neigh bad, huh?
READ MORE